In its simplest form, a melting furnace can be nothing more than a layer of ceramic blanket with a pipe in it for the burner (Jeff Pringle style 'Atomic Marshmallow' furnace), but I wanted to build something a little more robust. The maximum rating on the insulation blankets I've been able to find is 2,800 degrees, which is technically within the range of melting steel, but far lower than the burner's output temperature. For that reason, I designed a simple foundry that uses castable refractory cement as an inner lining, which will be detailed below.
-Parts-
Body-
-2 old 20# propane cylinders or one 30#
-1 inch thick kaowool or equivalent ceramic insulation blanket, long enough to line the cylinders
-High temperature castable refractory (I used an entire 55lb bag of Kast-O-lite 30)
-Something to cut the tanks with
-A welder or some mechanical means to join the two tanks
-One of those 8" cardboard tubes from the hardware store for making concrete foundation pillars
-3/4" pipe, about 8" long
Burner-
-3/4" T fitting, preferably with the perpendicular one being of 1/4" size
-3/8"-1/4" plug (because I could only find a 3/4x3/4x3/8" T)
-Standard 1/4" gas line to the propane tank
-A 3/4" pipe or other means to attach the blower
-A regulator for the propane
-A blower of some kind, variable speed or not, just not too high CFM
--I used a 185 CFM leaf blower connected to the variable speed foot pedal from my Foredom rotary tool, with a C clamp as the tuning/adjustment. The output was about as low as I could make it while it stayed running.
-Construction-
To begin, it is critically important to understand propane tank safety. At NO point EVER should anyone cut into one without first knowing with absolute certainty that it has been properly vented. Sparks from a cutting disk or the heat from a torch can make it violently explode.
Now that that is out of the way, we can begin. To find old propane tanks if you do not already have some, most places that fill tanks have empty ones. All pressurized gas tanks must pass a periodic certification to ensure that there is no excessive rus
ting, denting, things in other words that would cause it to fail when filled. The ones that have been decommissioned may be lying around. If you explain the purpose of needing them, they might just give it to you. Otherwise possibly sell it for a few dollars. Scrap yards might have similarly sized tanks, those work too. There are a few reasons why I used propane tanks, which will be explained later.

Now that both tanks are de-valved, fill them both entirely with water to guarantee no propane is left inside. Drain the tanks, and now they are ready for cutting. As an extra precaution I let them sit upside down for a few hours and then held a torch over the hole. Nothing should happen.

Both tanks need to have the tops cut off at where the flat of the body tapers to the ends. I used a 4.5" angle grinder and it was not too tedious. Set one of them aside, as it will become the bottom half of the furnace. With the other, the bottom needs to be removed.

This second tank will become the top half of the furnace.
Taking one of the top sections earlier removed, cut out the threaded part where the valve used to sit. It is a 3/4" common thread configuration that fits the pipes used for the burner.

Now, take a hammer and dent the bottom half tank over an area about the same size as the piece we just cut. The dent is to allow the burner to enter the tank at an angle to promote circulation in the combustion chamber.

It's hard to see in this picture, but the threaded piece is tangential to a circle about 2.5" smaller in diameter than the tank body. This is about where the interior chamber will be. To give an idea of what I'm talking about, see the picture below. The flame should be coming in from the side, not blasting the crucible head on. Now extrapolate that line to the tank and that's the angle the threaded flange should be welded.

With the threaded flange welded on, the bottom half is ready for the foundation to be cast. I used solid refractory for this, although to save on the volume, a layer of the kaowool can be placed down first. My reasoning for this was to add as much thermal mass between the floor of the chamber and the ground, and because that is the worst place to have the foundry fail. If it's solid, even if the refractory cracks nothing will really happen.

Pour in the refractory until the level is about an inch or two below the burner port. This takes some time to cure, so it can be set aside for the time being. The next few steps can be done out of order.

I allowed the plinth to cure for a day and then welded the second tank to the first, making a longer cylinder. The welds are not very important, and mine are not great. As long as it stays together it doesn't matter much. I only tacked the edges a few times, as the cut edges did not perfectly align.
Taking the top piece that the threaded flange was cut out of earlier, we will prepare the lid of the furnace.

To ensure that the refractory stays attached to the lid, weld a few pieces of scrap to the inside. Alternatively, holes drilled through it and bolts fastened with a nut on the other side will do just fine. Three or four ought to do the job.

Again, this will be solid refractory, mostly because there is no way to take space away with the kaowool. For the opening, I stoppered it with a bit of cardboard rolled into a cone. The cone shape will act like a nozzle and better direct the flow out of the furnace. (The larger end of the cone will be on the inside of the furnace)

Fill with castable and let it cure.

Returning to the body of the furnace, with the plinth relatively solid, place the 8" cardboard tube inside and fashion another cone that will connect the burner to the inside of the chamber. Again, it should be coming in tangential to the combustion chamber.

Cut the ceramic blanket so it is no longer than needed to fit inside the cylinder, and no taller than 2" from the top edge. Where the burner enters, align the two ends and cut the bottom corners off. This way, we can have solid refractory where the burner enters. I surrounded the cardboard cone down there with castable before inserting the blanket to ensure it is entirely solid underneath and near the wall.

Slide the tube back into the furnace and align it to centre. Carefully fill the remaining space between the blanket and the tube with refractory, using some a piece of wood or your hand to pack it all the way down, working a few inches at a time so no voids are created. When you reach the top of the blanket, fill the final 2" to the top so there is a solid surface.
Cure for a few days.

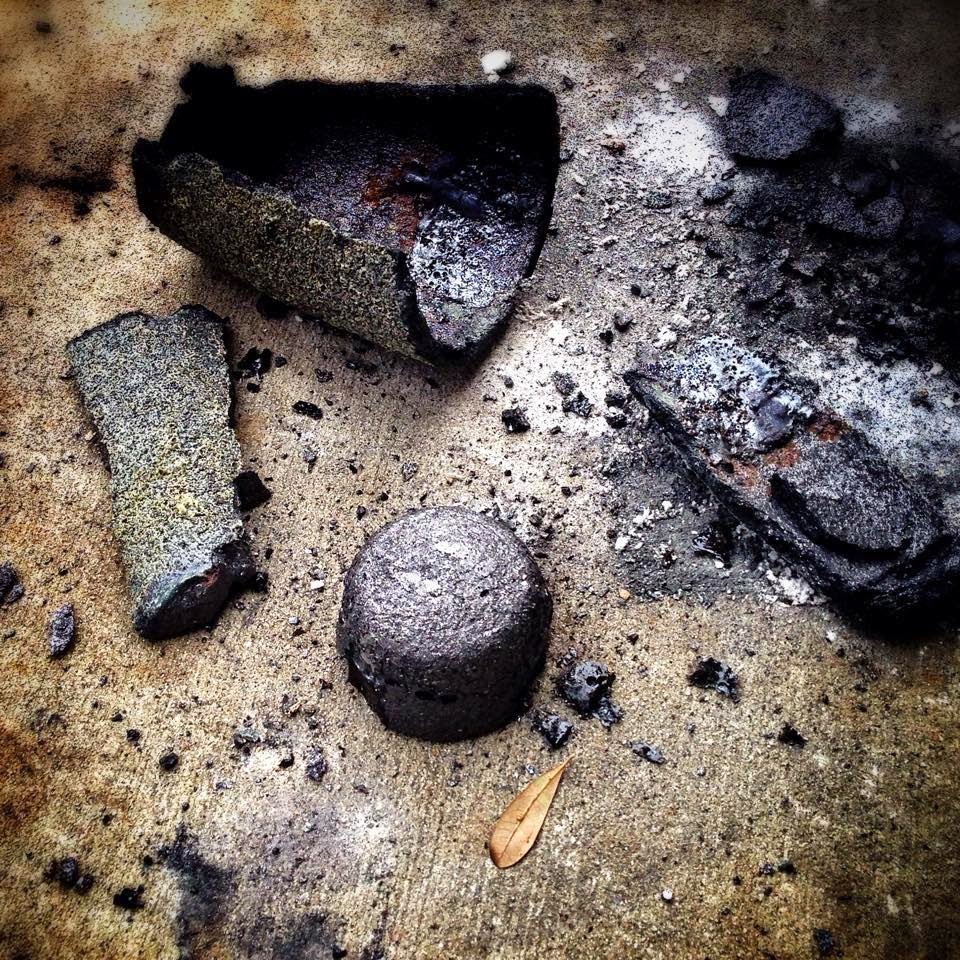
When cured to the point of being solid, the cardboard can be removed. Inside, check for voids and patch accordingly. The chamber fits a #6 crucible or smaller (size of a crucible varies a little depending on the brand).
To fully cure the refractory, let settle another day or two, then fire up the foundry for a short time, allow to cool, then burn for a little longer. Eventually, steam should stop rising out of the sides and it is ready for full use.
For the burner, plumb the propane into the perpendicular leg of the T fitting. One of the other two ends connects to the 8" pipe (then into the furnace itself) and the other to the blower. Having the blower in line with the chamber and unrestricted is important. There is nothing fancy about the burner, as the combustion occurs within the furnace. Mixing happens in the 8" pipe between the propane and the air from the blower.
ALWAYS start the blower FIRST. Otherwise the propane will leak into the motor of the blower and potentially ignite when turned on. Remove the lid, turn on the blower to as low an air flow as possible, then open the gas around 5psi. I keep a torch held as far down the chamber as I can reach before turning on the gas so it does not ignite violently. Once the propane is burning, it should have a sustainable flame. If not, first try lowering the propane pressure, and if still nothing, raising it past the original level.
There are two types of flame, a billowing one and one like the exhaust of a jet engine. You want the engine. If there is a billowing flame, lower the propane pressure and when the pressure is right, it will start to sound radically different. Instead of the noise of the burner alone, the foundry will start to sound like that jet engine.
Now that a air/fuel balance has been established, put the lid on and wait for it to heat up a bit. Adjust the air and propane for temperature control. Generally, raising the propane pressure will increase the temperature as long as there is sufficient air from the blower. Gage the efficiency of the burn by how much residual flame comes out of the top of the lid. There should be a little, but not a metre high gout or none at all. By tuning the pressure and blower, you can hear the sound change. A louder roar is generally better as long as that sweet spot in flame coming out of the top is maintained. Every furnace is different, so bear that in mind.

For my test run burn, it took about 12 minutes for the interior colour to equalize (look through a pair of sunglasses or preferably welding visor). After that, I let it burn at 13.5 psi and the blower as low as it would let me operate before turning off. 37 minutes passed before the gas lines froze and I had to cut it short. Around 13 pounds of propane burned in that time (normal tanks are 20lb) and I was able to melt near 3lbs of steel.
Happy melting!
I've never heard of anyone building their own foundry before, but reading your instructions, which where so simple and easy to follow; I felt like I could do it. Great job going through Propane safety, because I have worked in that industry before, and you wouldn't believe amount of Propane fires there are.
ReplyDeleteRosemary Bailey @ Wabi Iron & Steel Corp.