
Hammering a ring out of a disk is a very different method from casting it out of grain. Constant annealing is required to avoid cracking, despite the ductility of silver. In short, the disk (quarter) is rolled on edge across a hard surface (anvil, sledge hammer head, etc.) while lightly but rapidly hammered.

Progress is slow, but the edge soon begins to mushroom. Because the force of the hammer blows is light, the centre does not deform, allowing the form of a rounded ring to emerge out of the disk. It is important to roll both directions, occasionally turning the quarter around so the faces are reversed. That helps ensure that the ring is centred on the disk (to ward against wobbles and asymmetry later).

Deciding when to stop is a relatively arbitrary decision. Try and find a balance between thickness of the ring and the diameter. If I were to stop at the point in the second picture, it would in theory work, but it would then be a very thin, narrow band. Instead, I hammered until it was around 2~2.5x the original thickness on the edge. Be wary, however, of trying to make the band very wide now will result in catastrophe later when you try to expand it to the proper size (the height of the band grows as the wall thins)

After you achieve the desired thickness, the middle needs to be removed. It can be drilled out, but I preferred to use the rotary tool to carefully cut the edges, saving the scrap for melting later (little though it is). The rotary bits I use are linked on the 'Links' page.
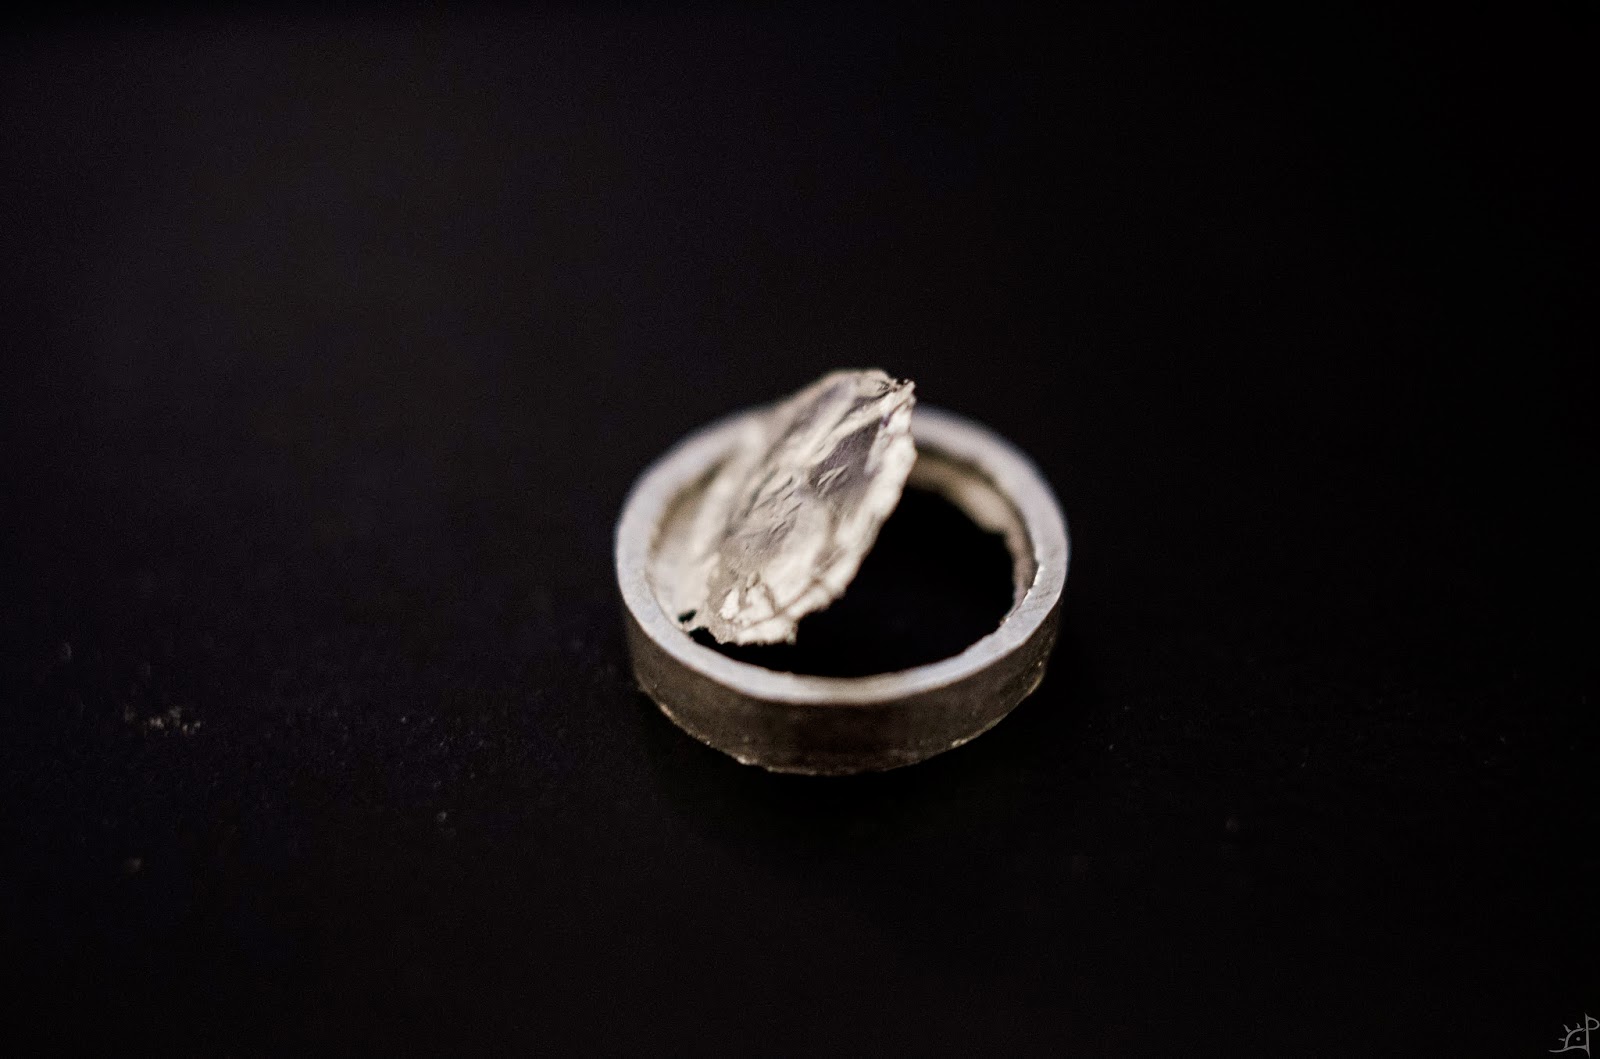
This is perhaps the only part that may require a semi-specialized tool (besides a ring mandrel). Another method of removing the web could be to drill as large a sized hole in the centre, but holding down the coin may be difficult or dangerous.

Next, the spine needs to be filed out. Needle files are great for this, or if you prefer to use small drum sanders, aluminium oxide bits, or other rotary bits they work just as well, but remove material faster so more care is needed. The only file you truly need is a half round file, but a full round and a flat file are nice to have too.

When the last bit of the web/spine is filed away, it is time to begin sizing the ring. Without expanding the ring any, it is as sized above. It may be larger or smaller depending on how much you hammered the quarter. Whether or not it is meant to be used this way, I used the mandrel as an internal mandrel, hammering on the top of the ring and spinning the mandrel around, in a very similar fashion to the initial forming of the ring shape. This gently expands it around the mandrel and, because of the tapered shape, it does not fall off as it grows (assuming you are hammering on the smaller side [left side in the above picture]).

If you do not know your ring size, this is a way to learn. I have never worn rings before, and through this project, learned my fingers are not designed well for rings. The last knuckle is considerably wider than the part the ring sits on, so it wears very strangely. Anyway, I kept expanding the band, annealing it every whole size or so by heating it to a dull red and allowing it to cool either in still air or water (non-ferrous metals do not matter because there is no iron to change molecular structure as a function of time). When it was close to slipping over the last knuckle, I would gradually increase size and keep trying it until it fit.
Notice that the band has become much wider than when it started, and the walls are quite a bit thinner. If you bring the initial quarter toroid to a smaller diameter, the band will be thicker but have thinner walls. If you leave it larger, it will be thinner but have wider walls.
A final point is finishing. Files and sand paper can bring the inside and out from hammered texture to a mirror polish or anywhere between. Half way through sanding the band, I realized I hated it. The hammered texture felt much more natural and authentic, so I went back to the mandrel and re-textured it. In the end, the result was about what I expected for doing this the first time.


Nice work on the ring!Thank you for documenting your project. it has been very helpful.
ReplyDelete