This has been some time in coming, and has actually been done for about three months now, but I just got the time to process the photos and write the post for it. Without any more introduction, here we go!


Cut out and ready for the edges to be refined. I used a knife to cut it, so it was not the cleanest. As I work on a quiver now, I have found that a sharp pair of tin snips does a fantastic and clean job for the higher weight leathers.

After I had an idea of how many eyelets I would need, I marked them at an interval which I have since forgotten and used a punch set to prep the holes for the eyelets.

Here is the front of the leather with the brass on top. I will later fasten the metal to leather with home made rivets with washers on the back to keep it from tearing through.

Repousse! I did not have a pitch pot, so I instead used a small cast iron skillet filled with pitch. I ordered my tools from Saign Charlestein opened SC Studios LLC. He was very helpful and understanding of my severe lack of knowledge in this subject and worked with me to create an entry set of tools. I also ordered the California Red Pitch from him, and it worked great.
The first part was to set the piece in the pitch. I heated the pitch rocks in the oven, filling the skillet gradually to avoid trapping too much air inside. When it was all liquid and deairated, I allowed it to cool to room temperature so it could solidify. Then I heated the surface with a torch and gently pushed the metal in until it began to slightly flow over the edges. You need to be careful doing this, as it will quickly spill over the surface you are working.

To remove it, simply heat again and pull out. There will inevitably be pitch left on the metal, but it can be cleaned off with acetone. On to the next side. The way pitch works, you can hammer specific parts without it deforming the entire area around it, allowing you to make detailed designs and textures (which I am a long way from doing).

All I did was help define the lines more clearly and the spaces between them. Nothing fancy.

Now I began marking the holes for the rivets. I used a regular broad headed nail to punch through the brass in pre determined locations. The only problem with this is you will need to de-bur the other side.

To the left of the above picture is a piece of stainless steel rod that I will make the rivets out of. The reason for this as opposed to a regular steel bar is it will be in frequent contact with my arm, and as arms (or any skin for that matter) does when confined to warm, uncirculated places, it sweats. And sweat has the incredible tendency to rust steel almost immediately.

Before I started riveting, I did a few experimentations with patina. I wanted a heavily aged look with higher contrast from the previous image. To do this, I dipped the ends back in the pitch bowl, removed it and wiped it mostly clean, and then burned the remainder of the pitch onto the metal. After that, I used a home made mixture of linseed oil and charcoal ash to darken it, then burnishing it into the metal. After that, I sanded the highlights to produce the above effect.

Here is what it looks like on the leather again. Much better than before (I think).

Compared to the original design. I have also marked and punched the holes for the rivets into the leather.

Sizing the holes and washers. All seems to be going well. This is when I measured how much of the rod I would need for each rivet. As a general rule, I leave the diameter of the rod in length hanging over each side of the thing being riveted. This allows for a proportionate head to be hammered on each side.

The riveting block I made for the folding knife a while back. It is a little worse for wear, but it still works. The proper size hole is filled mostly with a piece of unheaded rod, until the length of the unheaded rivet fits in the block such that the necessary length to head it protrudes from the top. This way, I can hammer a head onto one end while the remainder stays straight and undeformed.

After heading all the rivets, I put them in the brass to see what it looks like. See? it is nice using a nail to punch the holes because it pushes the edges down enough that the head of the rivet sits flat with the piece.

Back to leatherworking. I have no idea what this thing is, but I found it in the workshop and it made a great edge beveler. All I did was sand the bottom side flat and have at it. It cuts a fine ribbon of leather from the corner of the edge, making it nice and round. The sharper the edges at the corner of the fork, the easier it will cut.

Using that same piece of paper that I traced onto the leather, I sketched a simple design to tool into it. I will eventually build a lightbox, as my nemesis Symmetry held me up until I folded it in half and traced it on the window. I also marked the rivet and eyelet holes to avoid running into them.

To tool the leather, I dampened it slightly, allowed to dry until it was nearly its original shade of tan, and then used the repousse tools to press the lines in. At first I hammered, but found that I did not need to and that by simply pressing down firmly and sliding the tool across the line, it created a cleaner, more evenly deepened mark. Also, the friction darkened the recesses a little (a lot).

Silver for the tooling...

...and brown stain for the rest. This complimented the aged feel of the brass, and by covering over the silver and wiping it around a little before it dried made it more random and marbled. also, applying the stain in random patterns helps with the agedness.

After much research and no results, I decided I would make my own sealant. There are many commercial leather sealers out there, but none of them were locally available. Instead of ordering it online, I went the home made route (theme?). In the jar are the following:
-1.5 parts pure beeswax
-1.5 parts paraffin wax
-1 part or thereabouts of olive oil
This mixture, double boiled and homogenized, will protect the leather from moisture and keep it from cracking. And I suppose it smells nice too, if you are into beeswax.

Applying the mixture, after it solidified, was simple enough. All I did was heat the leather with a hair dryer and wipe it on with a paper towel. I found it difficult to use too much, although when you can see the yellow-white colour on the leather you probably reached the threshold.

Leather, brass, and a rivet all together. This was to give me a feel for what it would look like. At this stage, I also used a wheel to clean up the edges of the leather. What you need is something with the convex side of a circle (outside edge) and a U shaped groove along that edge. Think a pulley wheel but smaller. I used a wheel from the K-NEX toys and it did a great job. Dampen the leather slightly (I did this before sealing) and firmly slide the groove of the wheel along the edge of the leather. It makes it nice and smooth and keeps it from pulling and expanding later, not to mention looks much better.
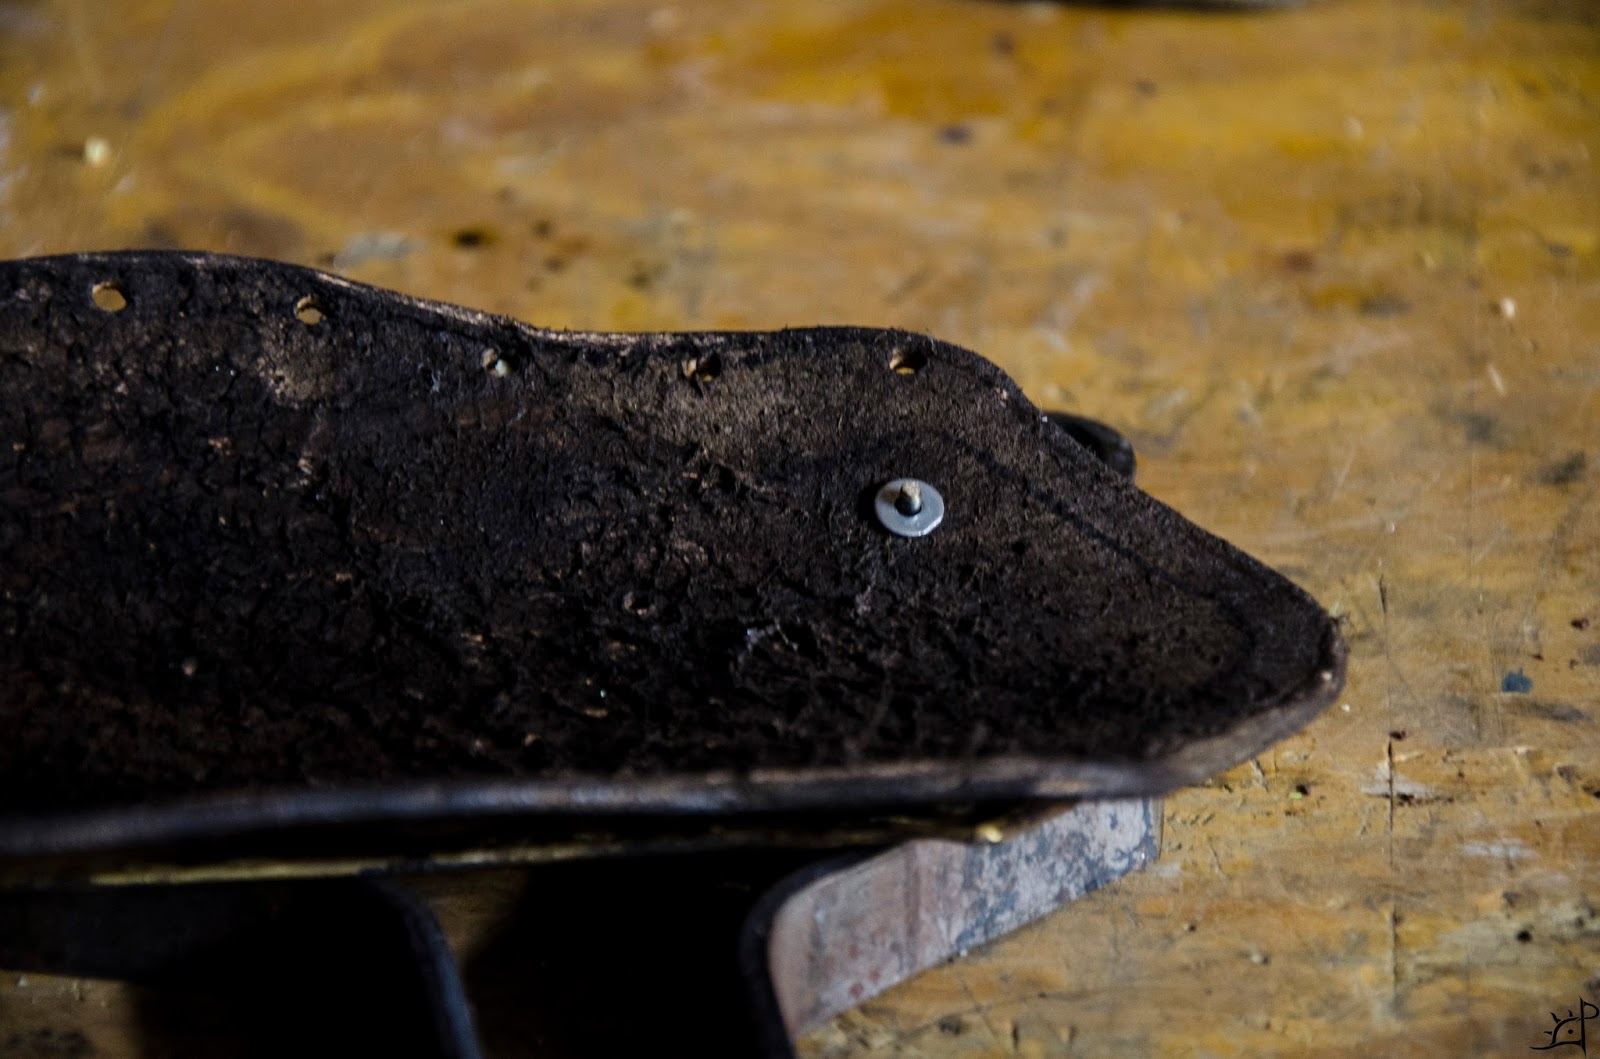
Hammering the first rivet. Note that the washer is on the arm side of the armguard. If you do not use something between the head of the rivet and leather, it will pull through far sooner than you want it to. Especially if you never want it to.

That same rivet hammered down. There is no need to kill it, just enough to make it flat and secure.

All the rivets done. Some of the corners were tricky, as I did not want to damage the brass in the process. Finding a good position to hammer on is more difficult than you think.

The final step is to put in the eyelets. I found these on clearance for $.99 per hundred. They are not essential, but make the armguard look much more finished, not to mention save wear on the leather and the cord running through the holes.

Finished armguard. I hope you enjoyed!


No comments:
Post a Comment